Today’s tale is about new art for less than $12. And the lessons I learned while taking three shots at it (not by choice!)
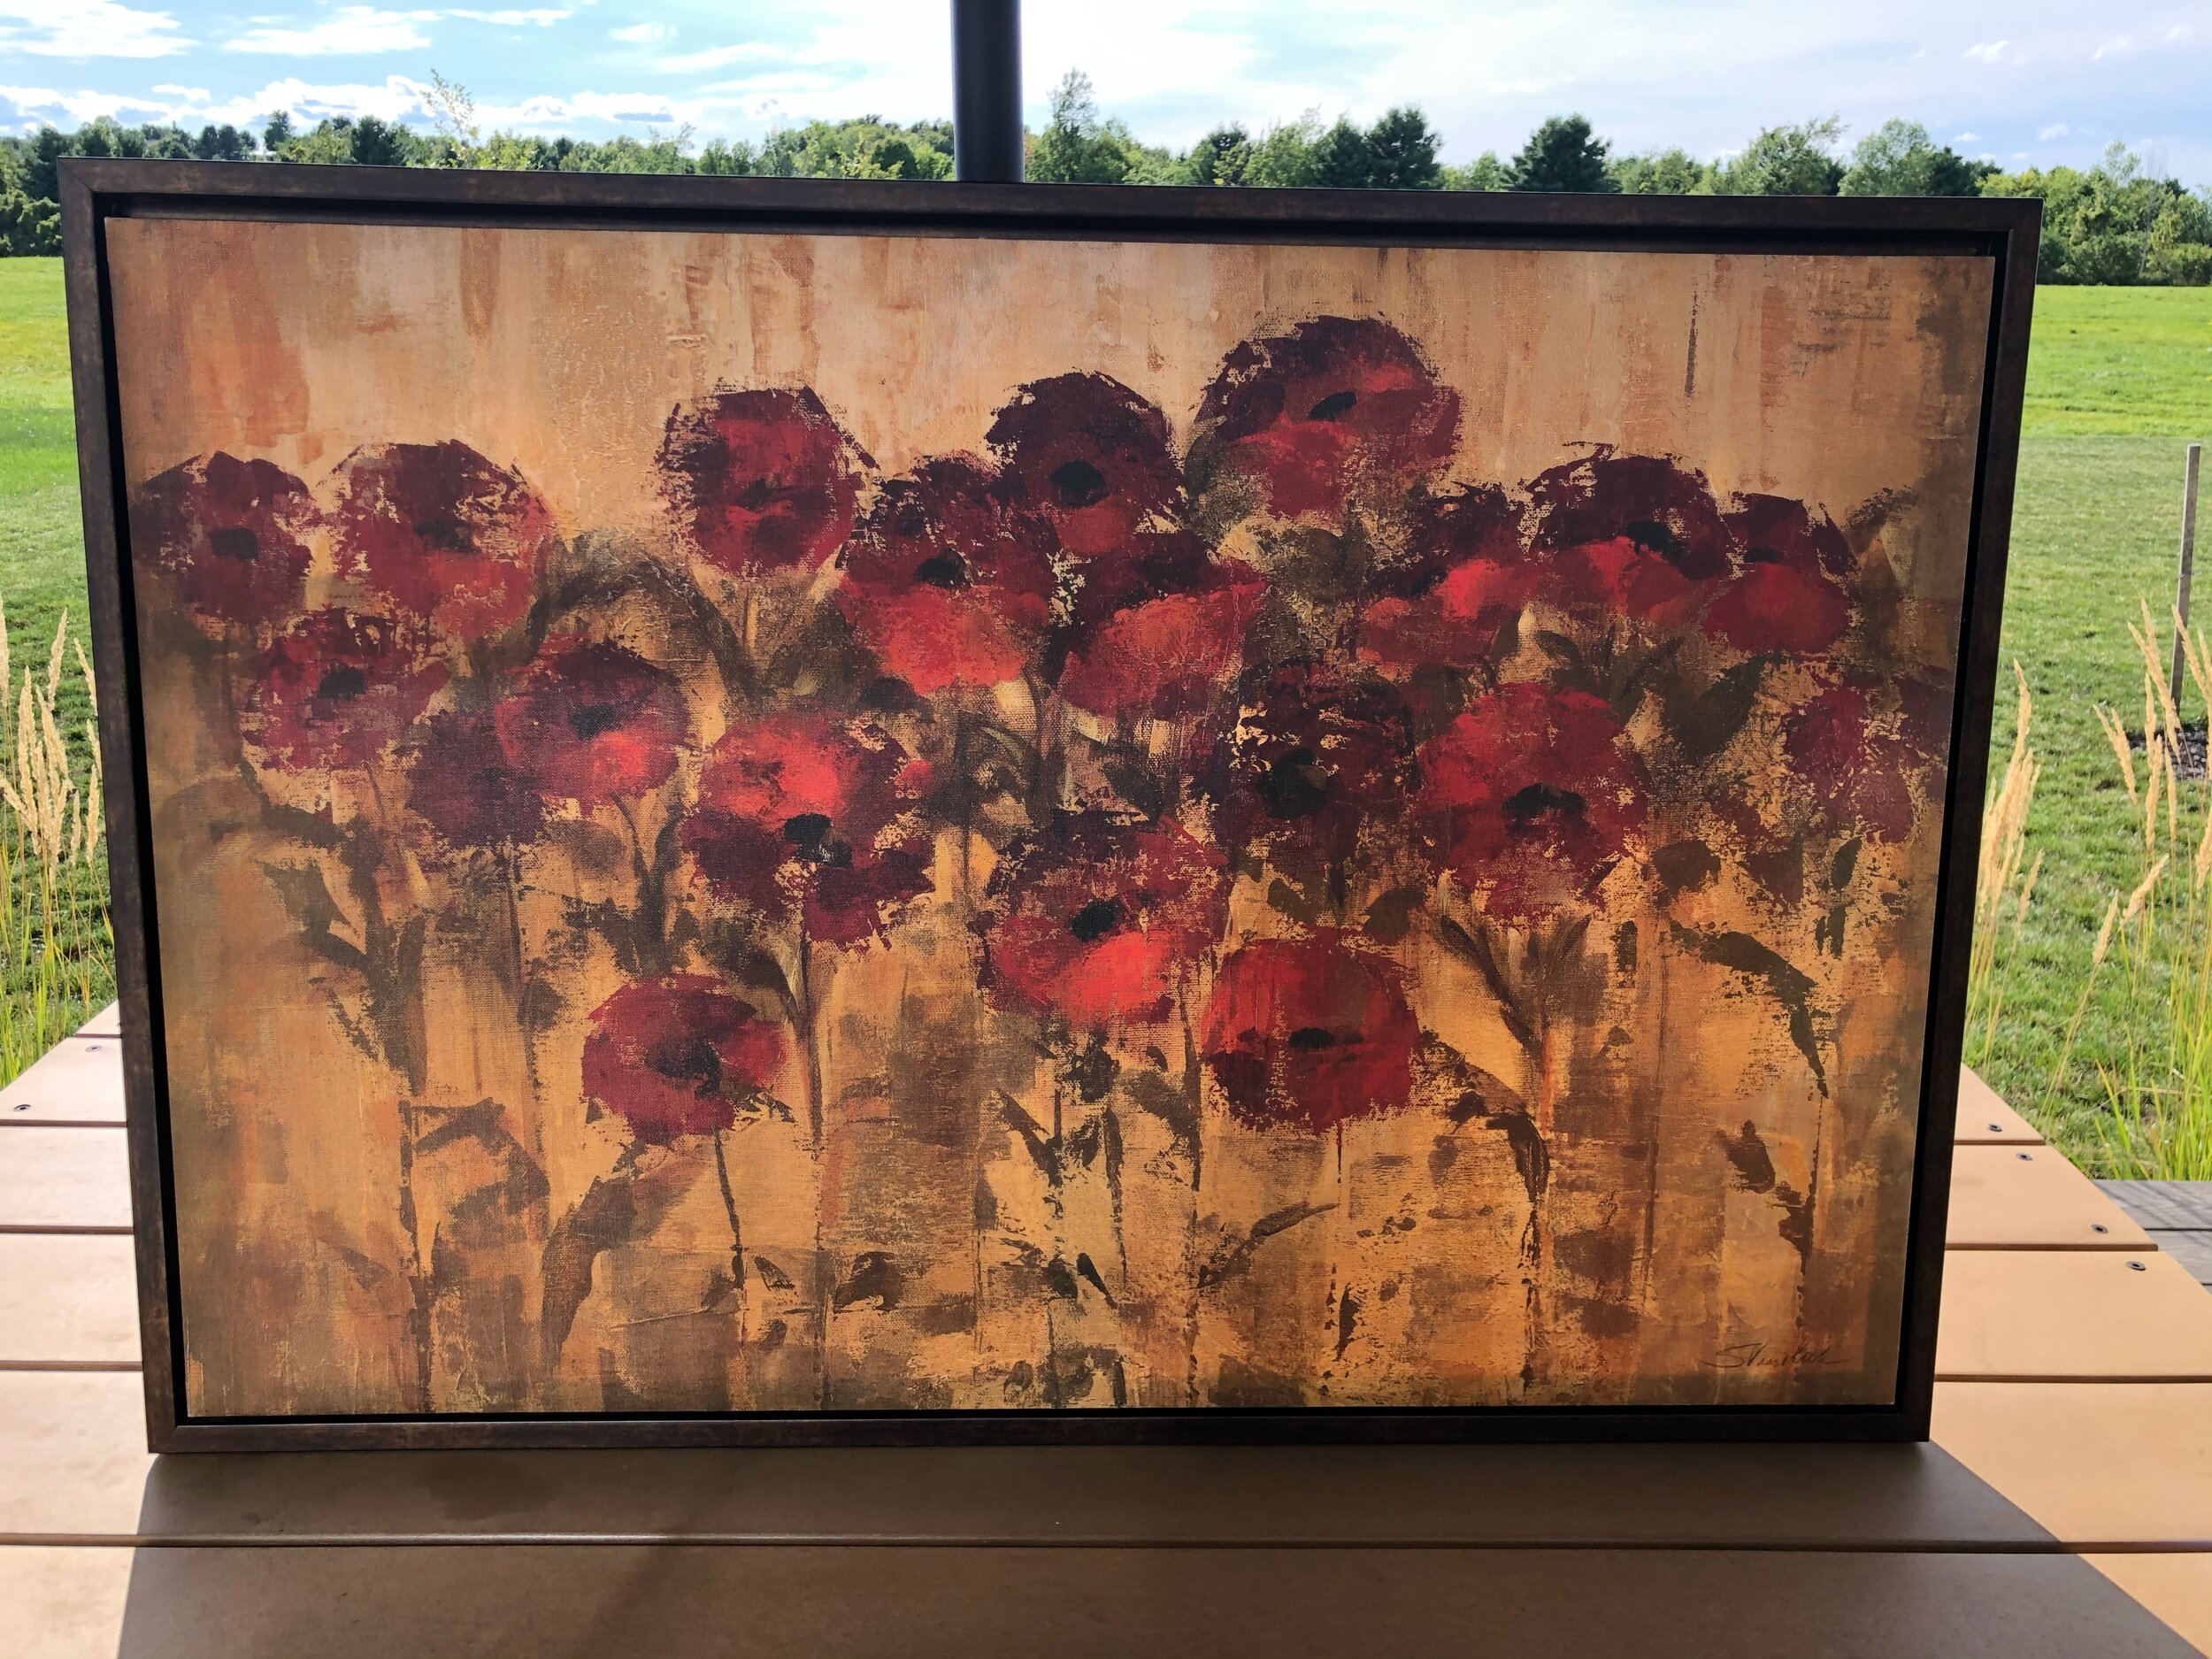
Here’s what this piece of art started as — it was a generic canvas that I purchased from Bed, Bath, and Beyond probably ten years ago. It lived a good life as it was, but I had outgrown it and it didn’t quite fit my style anymore. It had been collecting dust in a closet, so I decided to give it a second life, as the featured piece of our entryway as part of my One Room Challenge.
I started by taping the frame to protect it, as the dark wood frame is the perfect color to complement our floors. Next, I used some leftover primer to cover up the old picture (read on to discover why I wouldn’t do this again…).
After it fully dried, I covered it in joint compound to give it some texture. I played around a bit here and tried a few different patterns before settling on this one with some curves. (Also read on to discover why I likely put it on a little too thick this time around!)
After more than a day of drying to a nice white color, it was time to paint. I broke out some acrylic paint and went all abstract here. I started with a black base to bring out the black accents in the rest of the room. I kept my strokes light to bring out the texture of the canvas, which I love.
While I played around with some different shapes on paper before putting the brush on the canvas, I decided to keep things simple and classic and went with a black and white color block. Next up, I mixed up a blue-gray color and added a few subtle highlights to warm the black strokes up a bit, and to softly tie in the color of the dining room rug.
In a word, I was smitten by this piece. It’s one of a kind, affordable, and was exactly what I had in mind! Here’s a picture of it leaning against the entryway wall when I was deciding between light fixtures!
And then…a plot twist!
Of course things can’t be perfect for too long, right? Remember how I mentioned that I had the art propped on the new entryway bench to test it out? Sadly, it fell to its demise when the door was shut one time. The joint compound shattered! Everywhere! :(
Not to be deterred, I cleaned it up and got right back at it. An artist is never satisfied with her first pass, right?! (I don’t know if that’s a saying, but I said it to myself to make me feel better!) This also made me so happy to know that I didn’t spend more than a few dollars on this project! I took this opportunity to recreate the piece, and think I learned a couple of things along the way!
First, no primer. I didn’t have any left so it wasn’t an option, anyway. And also, I’m guessing that the joint compound stuck a little better to the old canvas. I can’t prove that, but the art is still intact, so that’s my guess!
Second, a lighter coat of joint compound. This was also not quite by choice. I only had a small amount left in the container so I had to be a little stingy with it! the first time, I used probably 2/3 of the container, and I noticed that after it dried it was a bit cracked in places. It’s also a bit lighter now with less hardened joint compound on it.
Third: paint is meant to be painted over. I also played around with a different paint design this time around to try to make it not so perfect. If I ever don’t like it, I can always paint right over it and try something new, so why not take a chance?
So here we are, a whole new piece of art, exactly as I wanted it, for less than $12! I’ll take it! We’re one step closer to getting this One Room Challenge together!
Full list of items:
Old canvas art (if I bought it ten years ago, it’s free now, right?!)
Joint compound $3.78
Acrylic paints $0.50 each
Paint brush $2.48
Painter’s tape $3.97


